04 March 2013
Hike. Walk. Bike. We have our limits. How to extend those limits? Use four legs instead of two!
To that end, I suggested to Betsy we take horseback riding lessons. That way, when we get old and frail and want to go on a 10 or 15 mile hike we will have some help in the locomotion department.
Growing up at the tail end of the Golden Age of the Western one could hardly turn on the TV or visit the movie theater without seeing a cowboy, outlaw or sheriff flying through the desert landscape or across the plains at breakneck speed on their trusty steed.
The horse and rider were, and still are so entrenched in American entertainment and culture it would be easy to believe anyone could simply hop up on a horse and ride off into the sunset. Oh, how I wish that were true.
So the search began for a riding instructor in the Morgantown area. The idea was to learn the basics before we again spent the winter in south east Arizona where there is plenty of horseback riding.
In the east, English style riding is most common, the west - Western style riding. Go figger...
Not knowing much about any of this stuff, I convinced myself we should only look for an instructor who would teach us Western style. Wrong. Regardless of the type of saddle, bridle, reins, etc., Basic Horsemanship is
Basic Horsemanship.
But since I could not locate an instructor for Western style riding in the Morgantown area, I decided we would wait until we got to Arizona and then look for an instructor.
Fortunately this was easy as our neighbor in Green Valley trains horses and found us an instructor just down the road.
But we got side tracked with various other fun stuff and it was March by the time Betsy contacted Judith Oyler about our first lesson.
Our next lesson had to be rescheduled twice and this ate up two more weeks and we did not get as many lessons in as we hoped. But we did get the basics.
Click on the photos below for a larger image.
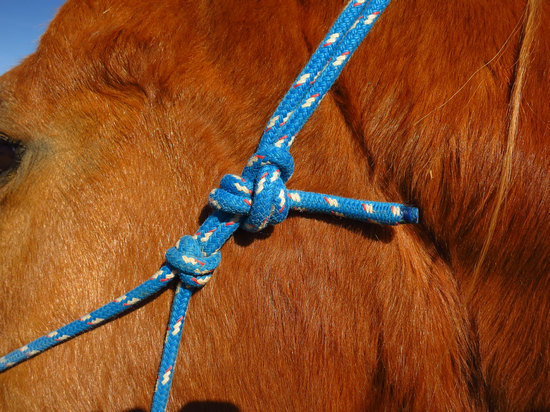
Being a knot head, I always have trouble with knots. And being able to tie this one is a must!
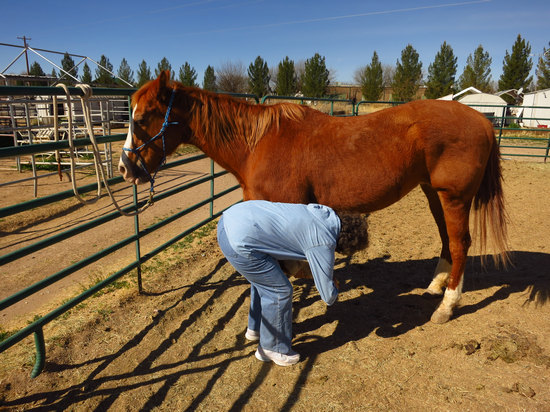
After being instructed on how to "catch our horse" one must then get the halter on and secure the horse. Then grooming begins which includes cleaning the hooves.
Here, Betsy asks Sissy for her hoof.
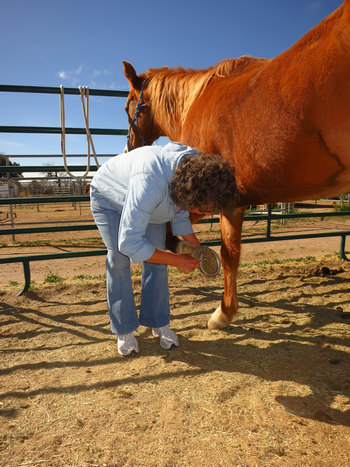
First one side....
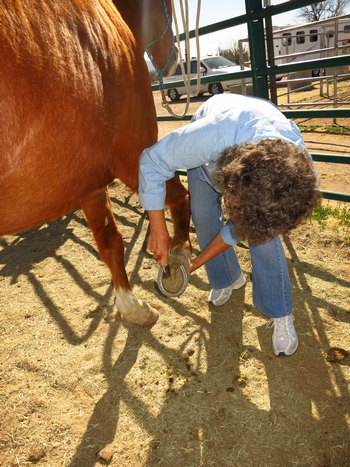
.... then the other.
This means you have to get to the other side of the horse which means walking behind the horse and into the kick zone. Horses will kick - if they have a reason. So we were instructed to always let the horse know what we were doing - both verbally and by laying a reassuring hand on the horse. I can't speak for Betsy, but this made me nervous. Who has not seen a horse buck or kick or read about such an incident?
But Sissy had no reason to behave this way and I was not going to give her one. The fear was groundless and soon I did not think twice about it.
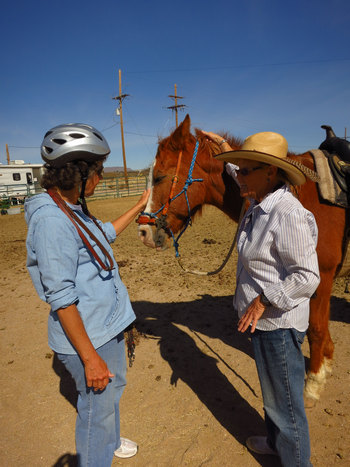
Here Betsy receives instructions and reassurances from Judy on how to behave around Sissy. It is simple, but complex in all its subtleties.
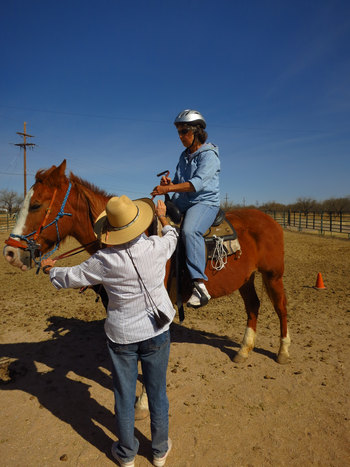
Here Betsy practices correct posture and how to properly hold the reins.
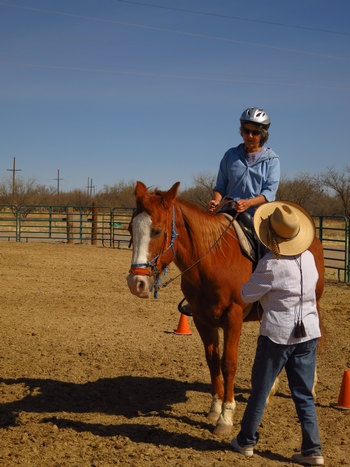
Practicing the stop.
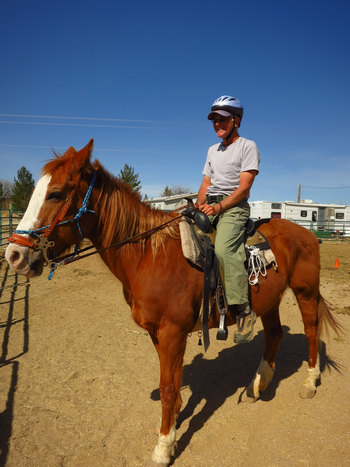
My turn now.
Note the tension on the reins. This is not required if the horse is in "stand" mode and only puts unneeded pressure on the horse's nose. I should have allowed some slack in the reins for Sissy to be comfortable.
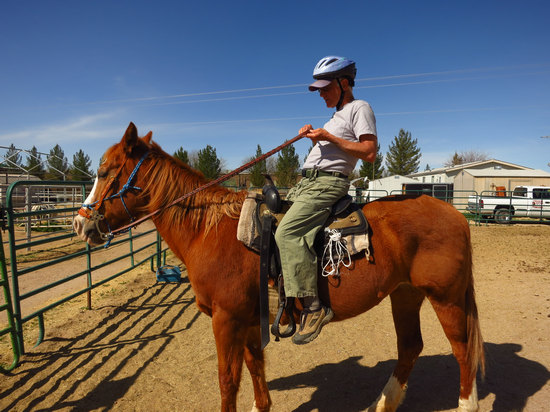
A perfect example of how NOT to stop a horse. The reins are way too high, I am leaning back and my feet are tucked back. All are incorrect.
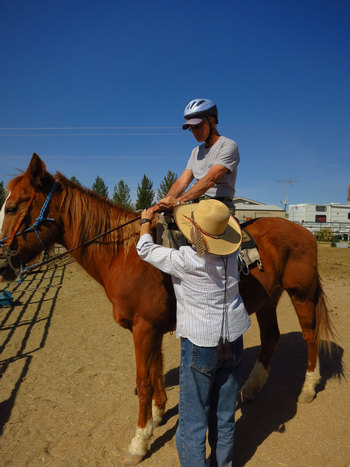
Here Judy again explains the correct rein and rider position for an effective and easy stop.
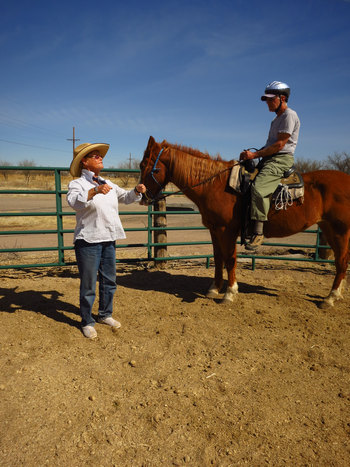
"Hold the reins like this."
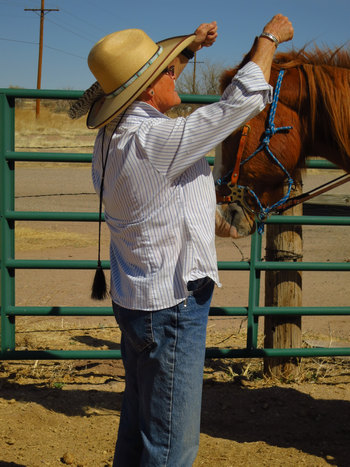
"Not like this."
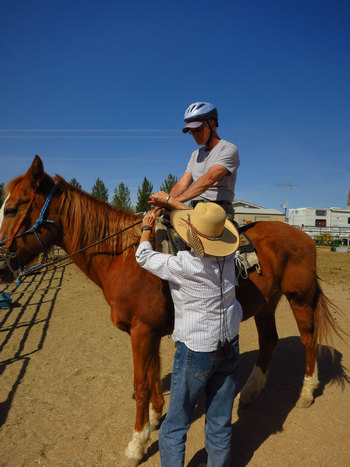
Hands on instruction.
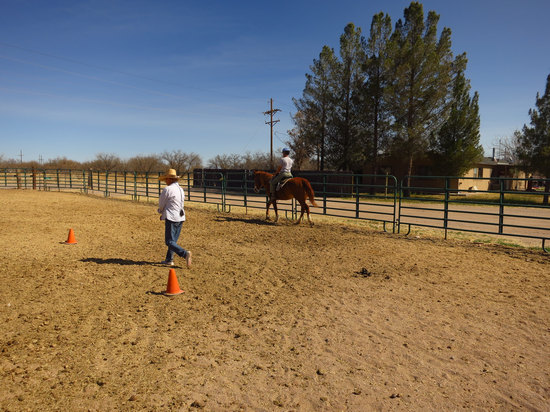
This was interesting. I have seen horse and rider circling a pen like this on several occasions. But it never occurred to me what was causing this to happen. Yes, the rider actually has to direct the horse towards the fence. If the horse is left to its own devises it will head to the center of the pen, or possibly the gate.
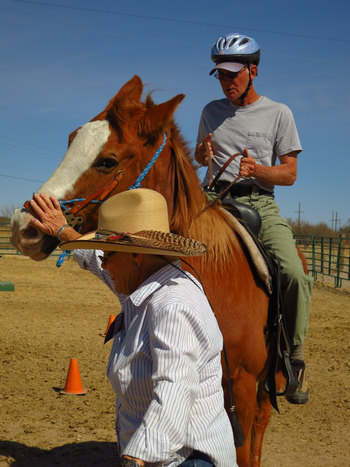
"Mike, turn your horse..."
To do this you need to place slight heel pressure on the inside of the horse, relax the inside rein and apply firm, steady pressure on the outside rein.
Note my arm position. Still too high.
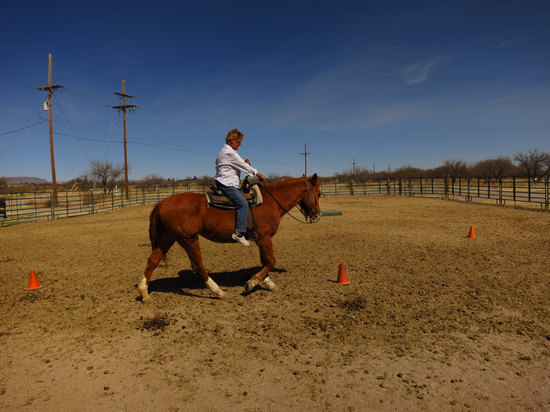
Judy shows us how it's done.
We had four lessons, learned a lot and have already forgotten a lot.
Here's the good part: our neighbor Larry is taking us riding tomorrow. He doesn't know what he is in for!
~~~~~~~~~~~~~~~~~~~~~~~~~~~~~~~~~~~~~
11 March 2013
Here are a few photos from our trail ride. We road in a wooded area near Tumacacori about 30 miles south of Green Valley.
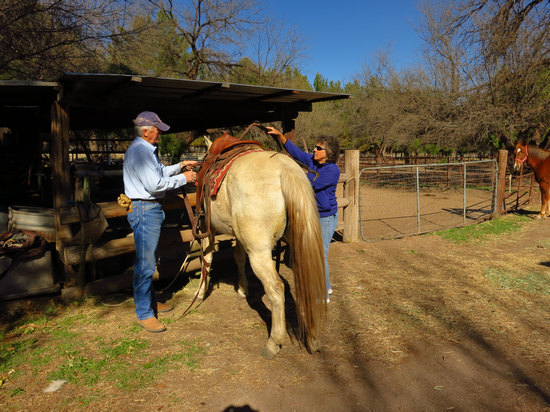
Here, Larry helps Betsy tack up.
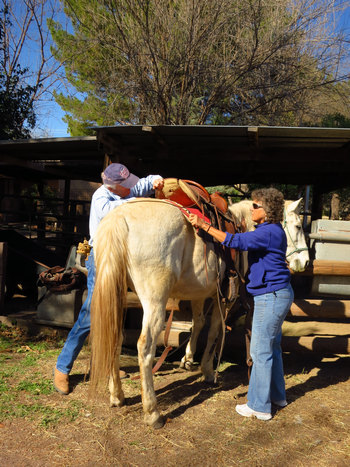
We both needed more help than anticipated since the saddles were quite different from the ones we used with Judy.
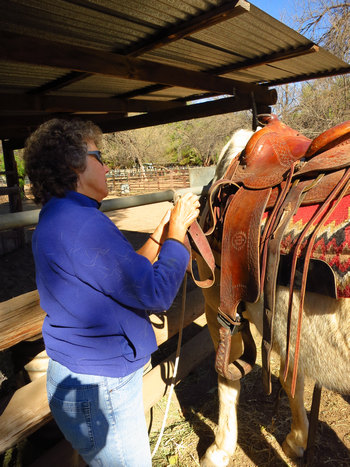
Hmmmm... where does this go?
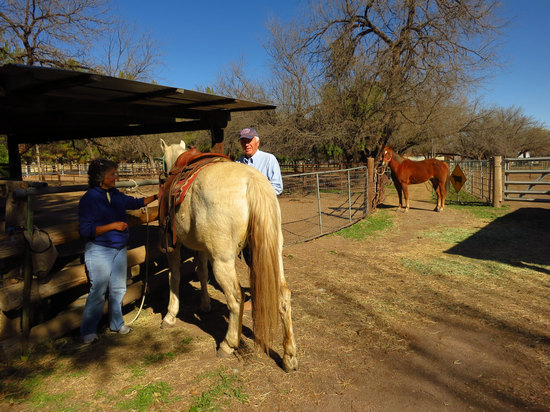
Almost ready to ride.
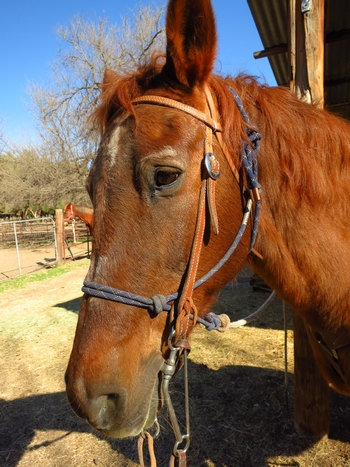
My horse with no name.
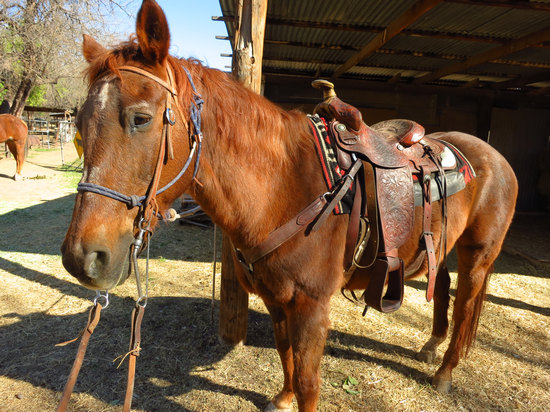
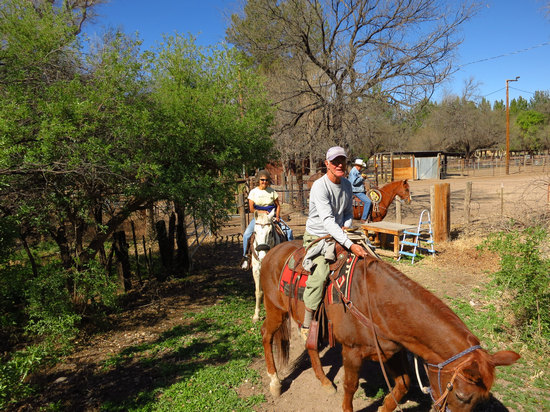
Off we go!
We used
neck reins with these horses and they were very responsive and fairly easy to "steer". (Photo by Larry)
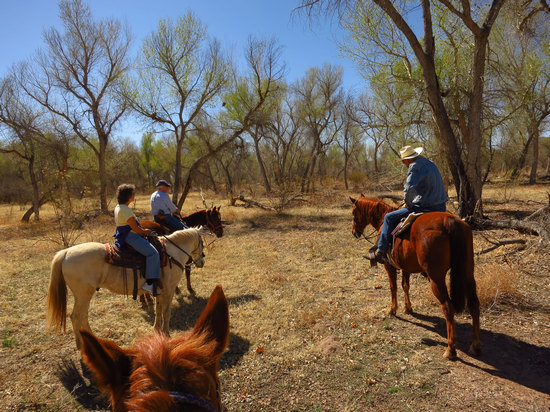
I did not trust myself to shoot while riding so I grabbed this shot when we stopped for a bit.
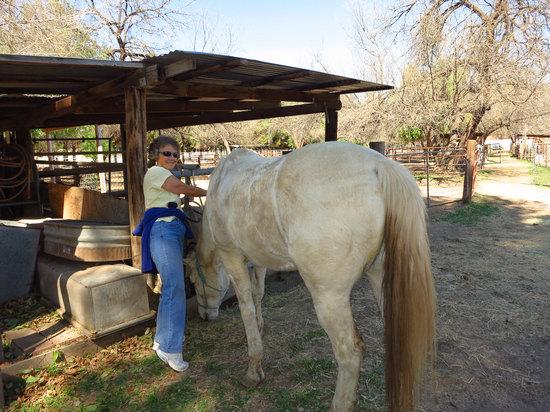
Grooming the horse after riding.
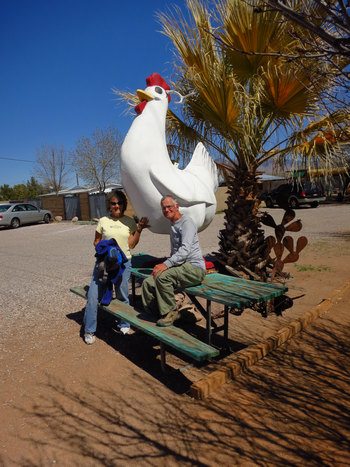
Larry's exorbitant fee for the ride was lunch at
Wisdom's Cafe which was just around the corner from where we rode.
The giant chicken is in front of the diner. Why, I do not know!
Thanks, Larry for a fun ride!!
'Till next time...